Conserving a Blaschka model
How do conservators undertake the delicate tasks, such as mending a broken glass object?
Holly Daws is Assistant Artefact Conservator in the artefact conservation team at the National Museums Collection Centre. She was tasked with repairing a broken glass Blaschka model of a Thick Horned Anemone. Read on to find out the step-by-step process Holly took to bring the model back to life.
What are Blaschka models?
Mammals and birds can be represented by taxidermy specimens, and fish and amphibians can be represented with painted casts. However, portraying plants, invertebrates and microscopic organisms presents more of a challenge. Pressed flowers and soft-bodied creatures preserved in fixatives or alcohol lose their shape and colour, and cannot convey the vibrancy and form of the living original.
In the 19th century, museums began to commission model-makers to create accurate, life-sized or magnified representations of plants, sea creatures and other organisms, using glass, wax, wood, plaster or papier-mâché.
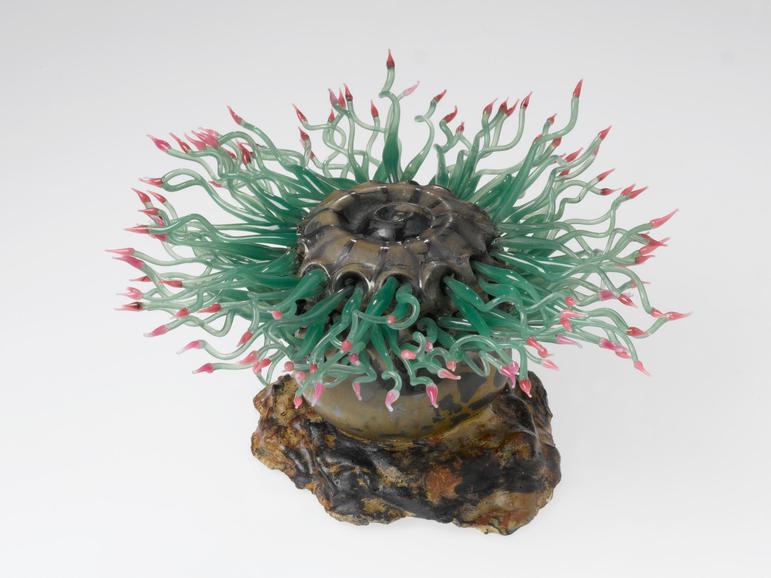
Master glass artists Leopold and Rudolf Blaschka specialised in producing beautifully detailed glass models of plants and sea life for natural history museums all over the world.
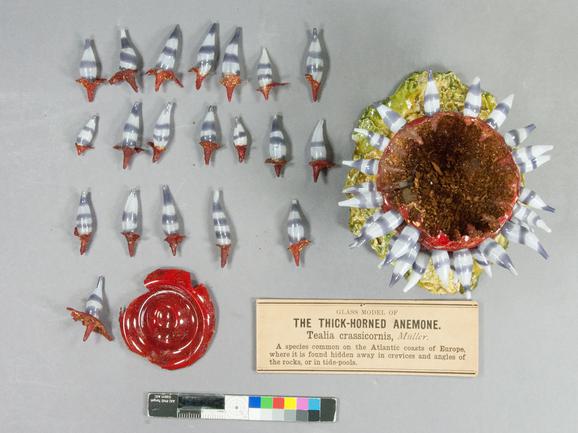
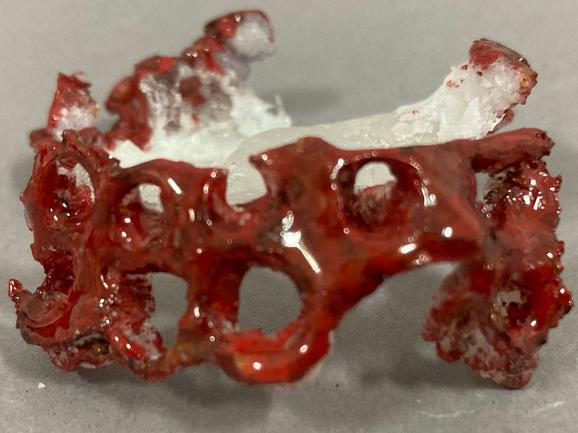
Before conservation
Before putting the model back together, all the broken pieces were laid out and assessed to see the extent of the work that was required. Many of the model's tentacles and circular lid had become detached.
The model was then examined to locate the places where the broken parts came from so they could be reattached.
Step 1
The glass surface was cleaned with a solution of 50/50 IDA and deionised water.
Step 2
The weakened areas of glass were stabilised using Japanese paper adhered with an acrylic adhesive and running cracks were secured using an epoxy.
Step 3
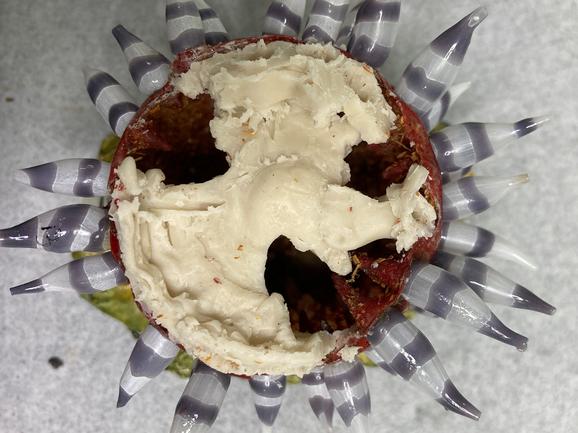
A significant amount of the glass had been lost around the tentacles; therefore, a support had to be made which would allow the tentacles to be held in position.
A wax former was made to the correct shape and pierced to allow the placement of the tentacles. The former was moulded to allow the circular lid of the original glass to sit on top.
Step 4
A two-part silicone mould was created and left to cure using the wax former.
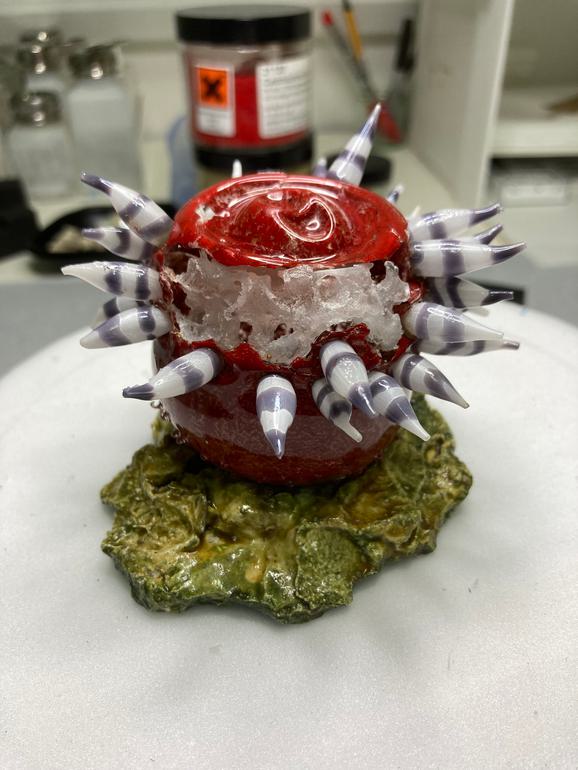
Step 5
Once the wax former was removed, epoxy was then poured into the silicone mould and left to cure. The epoxy support was removed and refined.
Step 6
The surface decoration was colour matched using acrylic paints and a final layer of gelled epoxy was applied.
Step 7
The support structure, tentacles and original glass top were bonded back into place using acrylic adhesive.
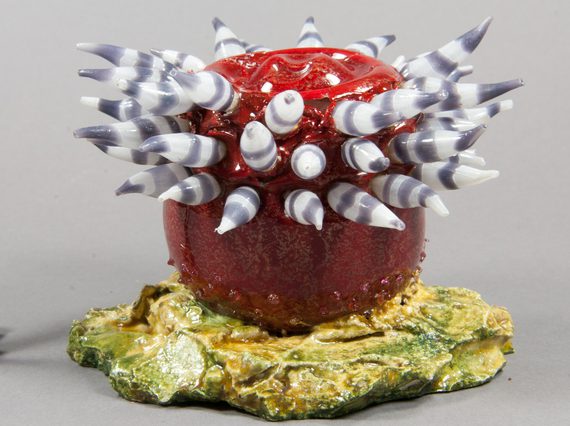
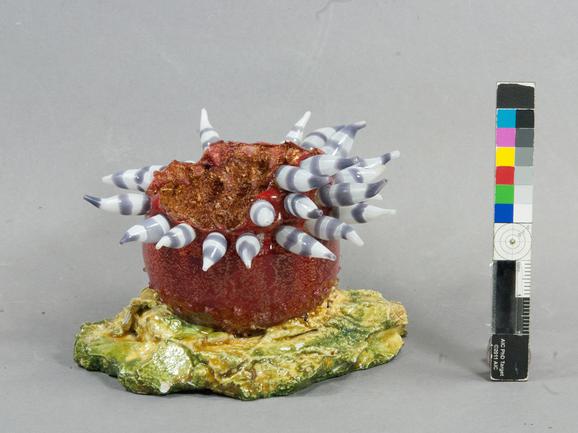
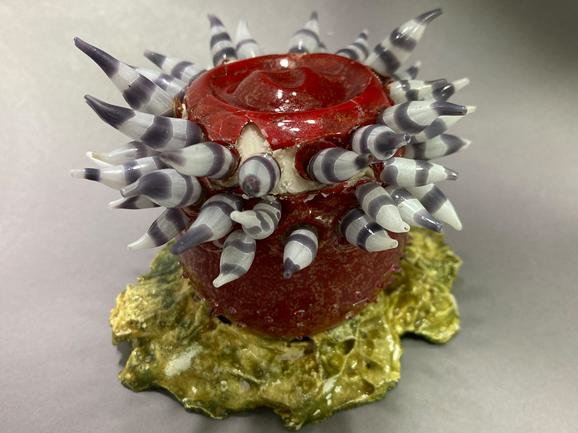
After conservation
The model of the Thick Horned sea anemone after conservation treatment
