Workflow and preparation
Preparation is key to taking good images of your collections. Below are some things to consider before you begin a shoot.
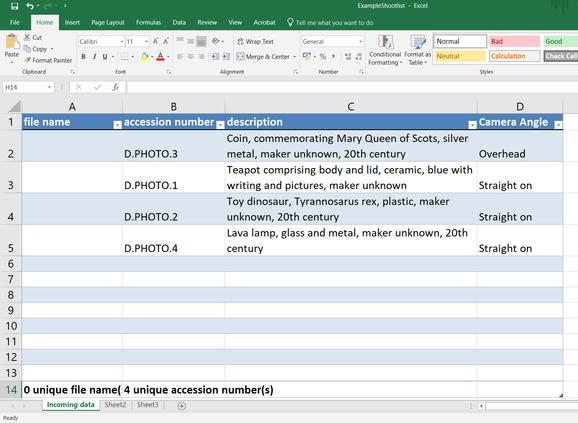
List objects in order
Write a list of the objects you want to photograph and arrange them in an order that maximises workflow, for example:
- grouping like objects
- ordering small to large
- grouping objects that require an overhead shot.
This will reduce the number of times you have to adjust your setup.
Working from a shoot list also helps identify objects when it comes to renaming files. Photographing objects in the order on the list helps you easily keep track. You can also place a piece of paper with the accession number as the first shot. This image is for reference only and can be discarded at the point of renaming.
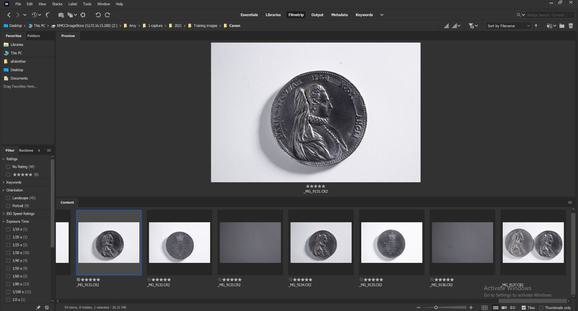
When photographing objects that are very similar in appearance, take a photograph of the empty background or your hand between objects. This will help you to identify at a glance which images belong to each object.


Selecting and setting up a background
Preparing your background helps you to create clean, high-quality images. When photographing objects, it is important that the colours of the object remain true to the original. Neutral backgrounds are essential so that colour from your background is not reflected or cast onto your object, altering its appearance. Black, white, and grey are all acceptable choices. When working in low light conditions a white background is recommended. Unlike black and grey, white does not absorb available light but reflects it back onto the object.
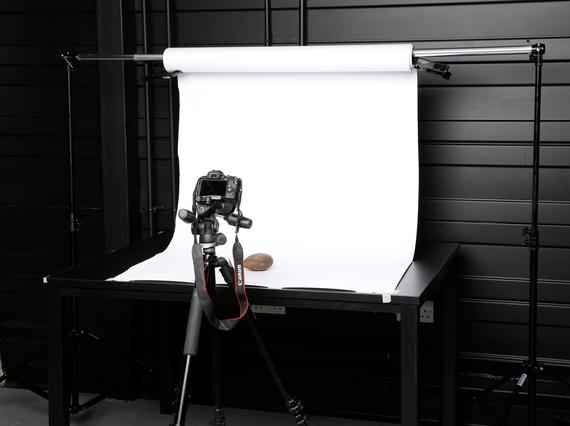
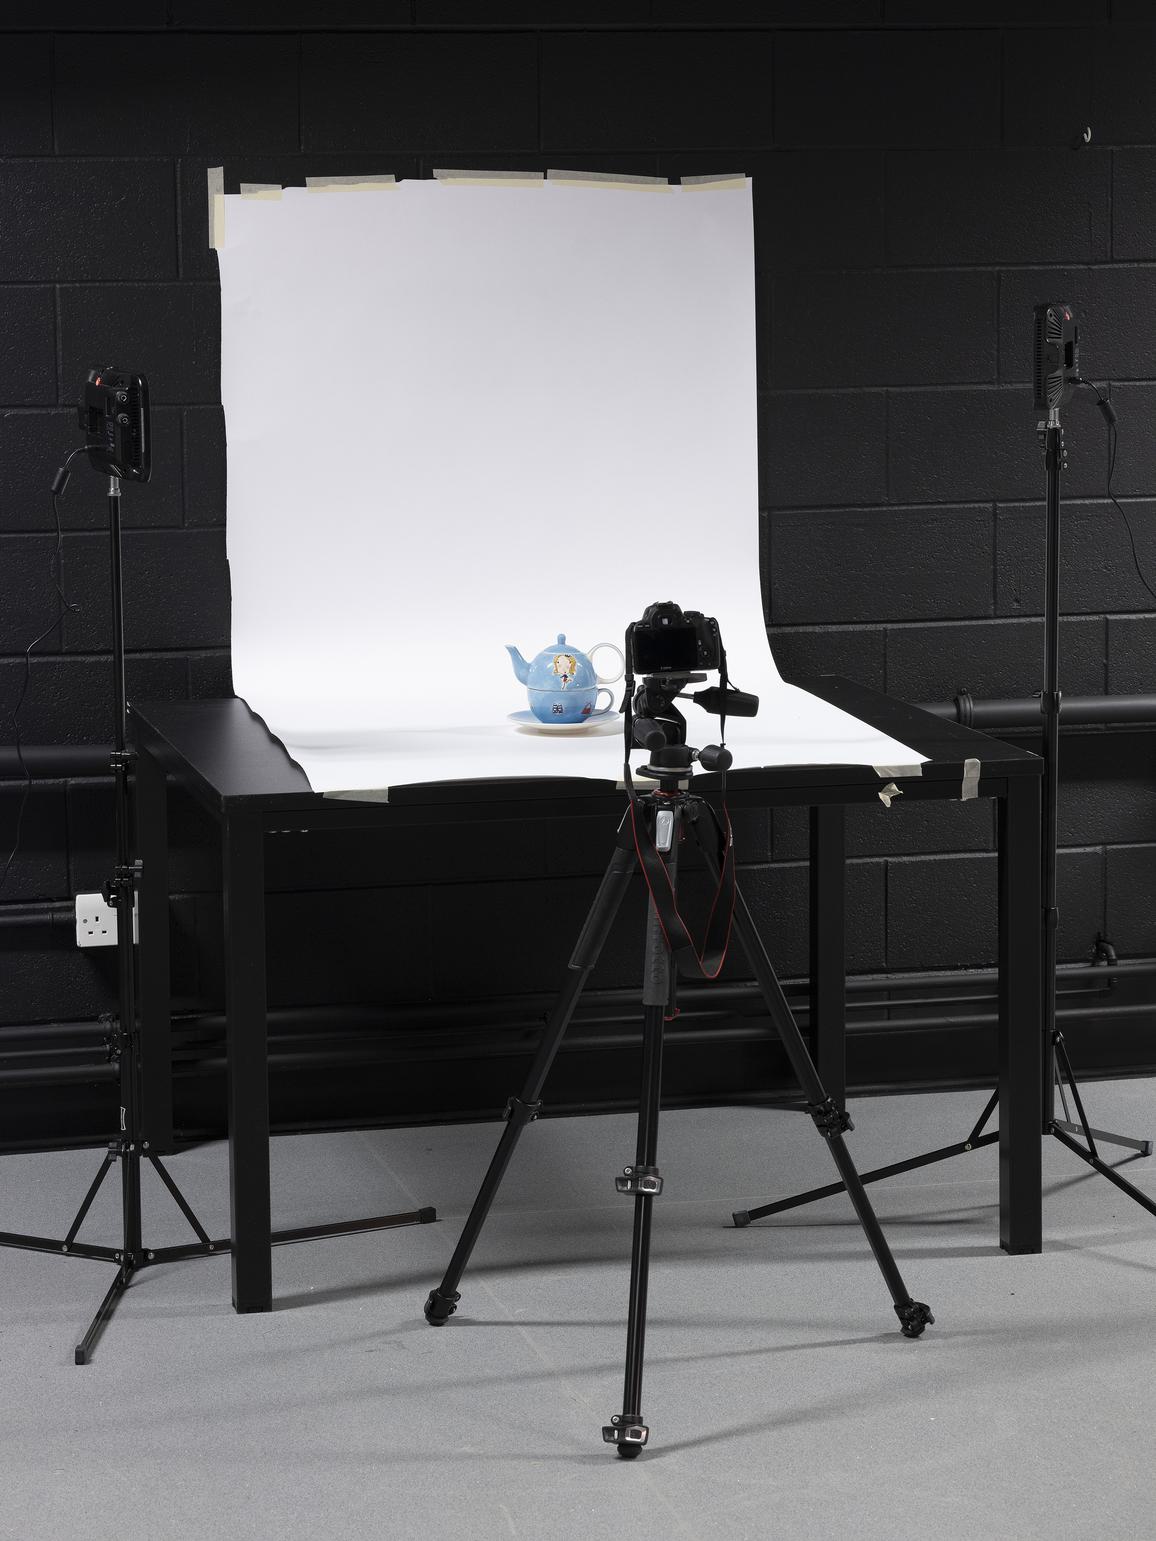
Keeping one area permanently set up for photography will improve productivity and the overall look of your images. Setting up a backdrop is simple. All you need is a section of wall that is free of shelving in an area that does not obstruct access to collections or fire escapes, a table, and a roll of background paper placed on a background stand or wall mount. It is also possible to simply tape one end of the paper to a wall.
The benefit of purchasing a background support is that you can easily unroll fresh paper and cut off any that is dirty or marked, which is cheaper than using and replacing one large sheet of paper. Place the table in front of your background paper and attach the free end to the front edge of the table. This will create a curve in the paper, giving your images a seamless, clean look.

Photographing in RAW
Always shoot with a RAW file setting. This will ensure you are using the highest possible quality and capturing the optimum amount of information. It is easy to scale down the size of your files if you need to, but you can’t add information that is not there. The key is to start with as much information as possible.
Raw files are also more malleable, making it easier to adjust your image in Photoshop. This will be useful if you need to alter the exposure and colour balance.
Glossary
Adobe Creative Cloud (Adobe CC)
This is an industry standard, professional photo managing and editing software package. This package includes software such as Adobe Bridge and Adobe Photoshop. As this is professional software, it has a higher price point.
Adobe Elements
This is an entry level/ hobbyist photo editing and managing software. It does not have as much functionality as Adobe CC but has everything needed to adjust exposure and levels, crop and save your files. It is an easy-to-use software for beginners and has a lower price point.
DSLR
Digital Single Lens Reflex is a professional or semi-professional camera that contains a mirror. This allows the user to look through the viewfinder and view the scene as though looking directly through the lens. These are recognisable by their removable lenses.
LED (light-emitting diode)
A type of light that is common in homes and appliances today. It produces an even, bright white light.
RAW file
An image file made from raw data. The data has not had any processes or compression applied to them. These files capture the maximum amount of data. Raw files can only be read and viewed with specialist software such as Adobe CC or Adobe Photoshop Elements.
License for reuse
These training pages are licensed for reuse under a Creative Commons Attribution-NonCommercial-ShareAlike 4.0 International License.
We are delighted for you to reuse, build on and publish the training content in these pages for non-commercial purposes. When you do, we ask that you credit National Museums Scotland and share the content under the same licensing terms.