Schools resources
Museum Maker: How to make an owl badge
We’ve teamed up with upcycling experts Ostrero and artist Bryony Knox to create a design for a cool owl badge – made from a fizzy drinks can! Try it out today.
What do you need?
- A helpful adult
- 2 fizzy drinks cans
- Scissors
- Something squishy to rest on (cardboard or folded newspaper)
- A biro pen
- Felt tip pens
- Objects to draw round (e.g spice jars)
- A bowl for scraps
- Bread bag ties or garden wire
- Buttons or beads
- Sticky tape.
Instructions
Safety check
- Ask an adult to cut out and flatten the can. They can cut out all the tin shapes too
- Cut off any jagged edges or nicks. Round off any pointy corners as these may be sharp
- Put all metal scraps into a bowl and make sure scraps don’t fall on the floor.
Step 1 - Prepare the can
- Cut open and flatten out the cans
- Cut off any nicks or jaggy bits and round off sharp corners.
Step 2 - Make the body
- Use a felt tip pen to draw the shapes onto the tin sheets
- Draw 2 large circles: 1 for the tummy and 1 for the wings
- Draw 2 smaller circles for the ‘eyes’
- Draw 1 triangle shape for the beak
- Get your adult to cut out the shapes.
Step 3 - Make the feathers
- Place the 2 wings and the body shape onto a piece of cardboard or folded newspaper.
- Press ‘V’ shapes onto the wings and body with a biro pen
- Turn the tin over to see how the pattern looks.
Step 4 - Make the eyes
- Place the two smaller ‘eye’ circles onto the squishy card or newspaper
- Punch two holes in the centre of each circle with the biro
- Snip small slits around the edges of each circle.
Step 5 - Join it all together
- You are going to use two buttons to fasten all the pieces together
- Line all the pieces up in this order : buttons/eyes/beak/wings and body
- Mark each piece to show where you need to punch two holes
- Punch holes as marked
- Thread wire through holes in the buttons, eyes/beak/wings and body
- Twist ends of wire at the back of the body to fasten together
- Sellotape a safety pin to the back of the body to make your owl into a badge.
Inspiration from our collections
We have lots more upcycled and recycled objects in our collections like this Tomato Bangle, made by David Poston, which was inspired by food packaging designs.
Our family programming is supported by players of People's Postcode Lottery

You might also like
- Schools resource
Meet the Vikings digital session - accompanying resources
A range of themed learning resources and activities to accompany our digital sessions on the Vikings. - Schools resource
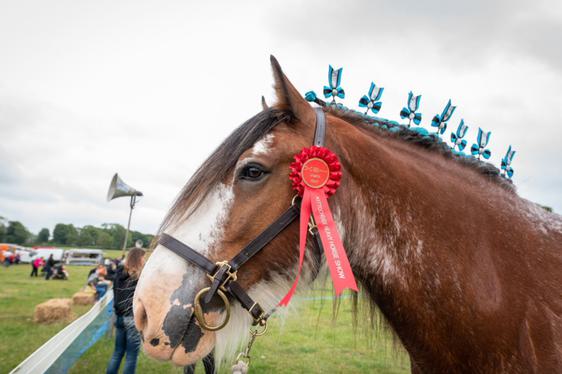
Museum Maker: Make a champion’s rosette
Celebrate the champions you know – family, friends or even pets - by making them a personalised rosette! - Schools resource
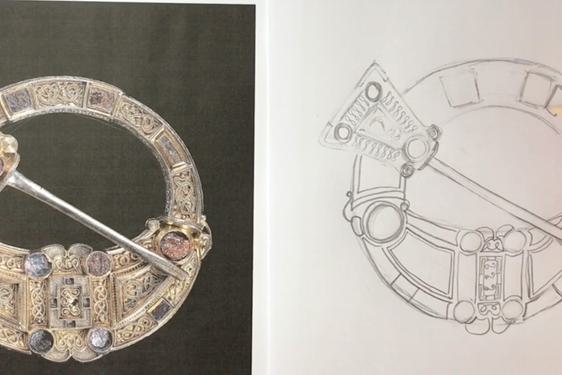
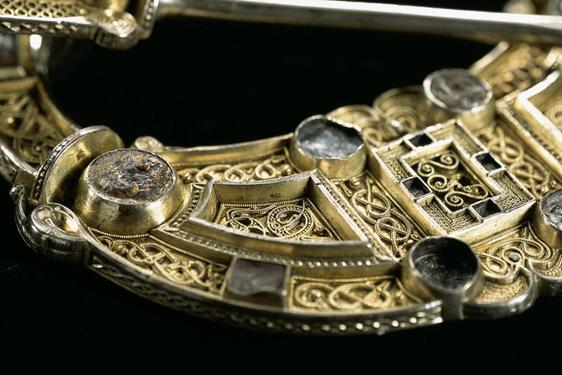
Museum Maker: How to draw the Hunterston brooch
Watch our video guide as artist Kayleigh McCallum shows you how to draw the Hunterston Brooch from our Scottish History and Archaeology collection.